Before pick-up, please have your booking reference, each driver’s original valid driver licence, your passport, and a credit card in the main driver’s name ready. If any driver’s licence is not in English, please also bring an NZTA-approved English translation of that licence.
Open Online Check-In
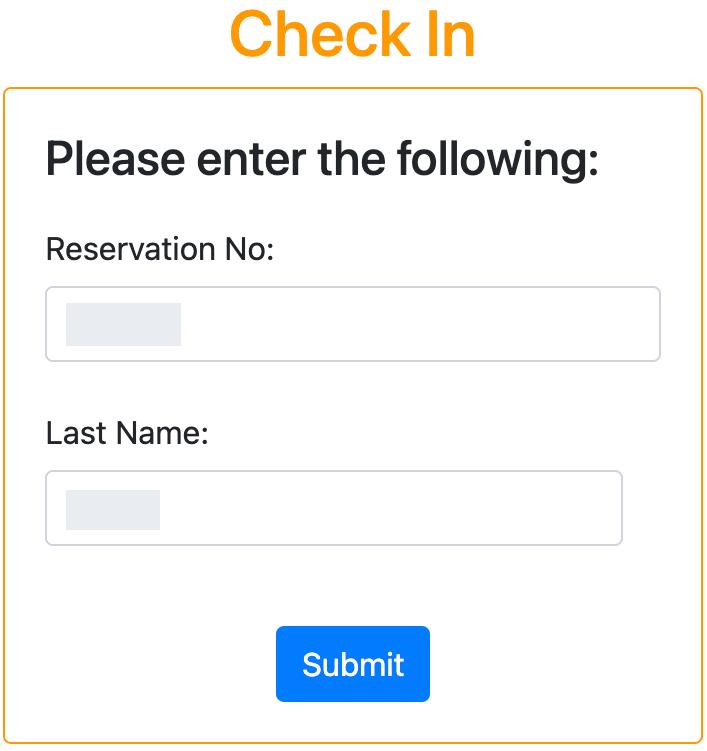
Open the Online Check-In link in your booking email. If prompted, enter your Reservation No and the booking holder’s Last Name, then select Submit.
Check Your Booking and Driver Details
Compare your booking with your confirmation email
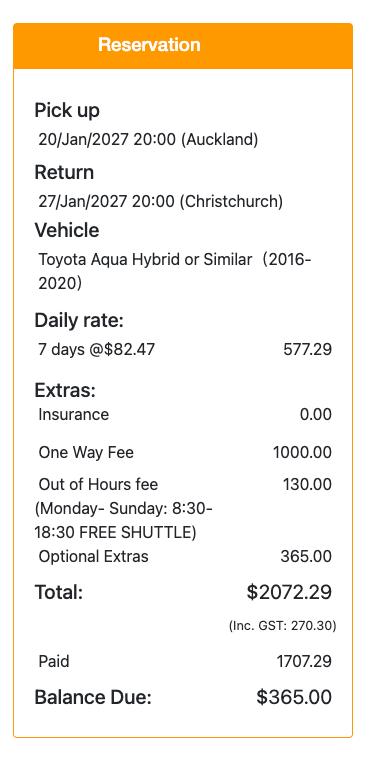
Compare the booking summary on the left with your confirmation email. Check your pick-up and return dates, times and locations, the booked vehicle or category, the rental period and the daily rate. Also check any extras and fees, the total, the amount paid and the balance due. If anything differs, contact your pick-up branch before continuing.
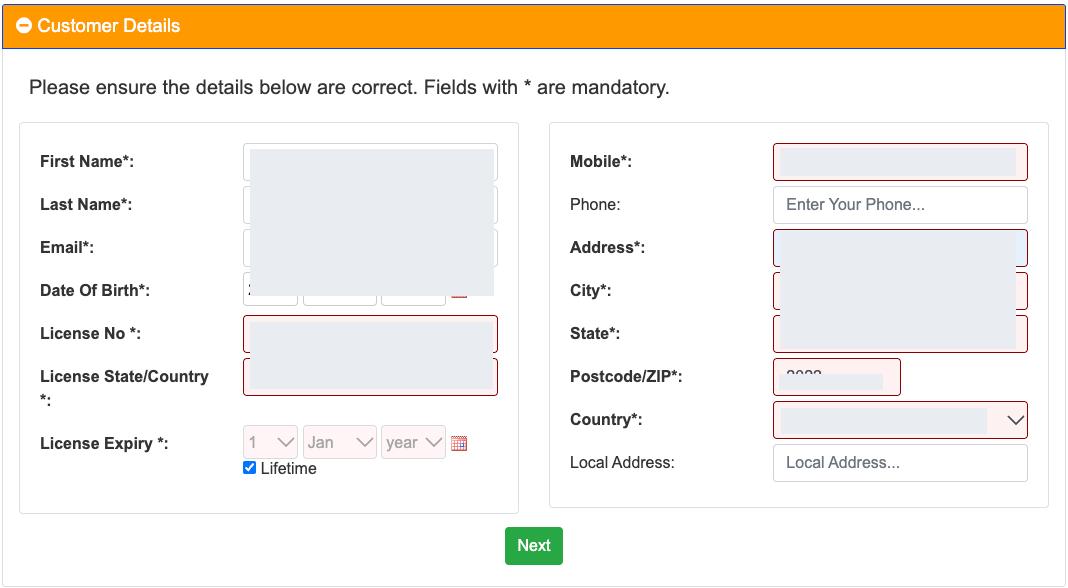
Once you have checked your booking, review your contact and licence details under Customer Details. Complete the fields marked *, then select Next. Select Lifetime only if your licence has no expiry date.
Extra Drivers and Booking Details
Add any extra drivers
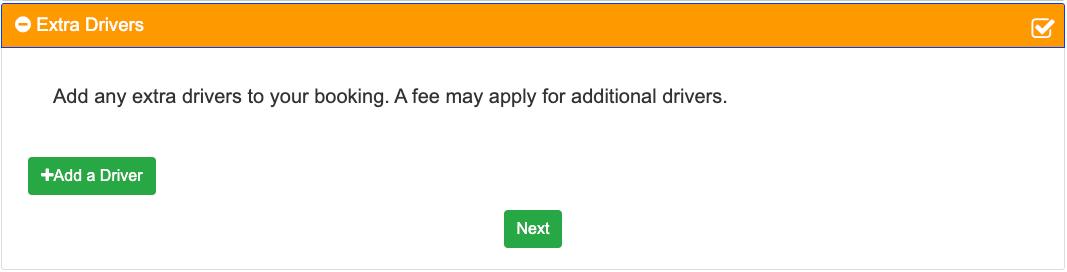
Under Extra Drivers, select Add a Driver and follow the prompts. A fee may apply. If nobody else will drive, select Next.
Review extras and cover
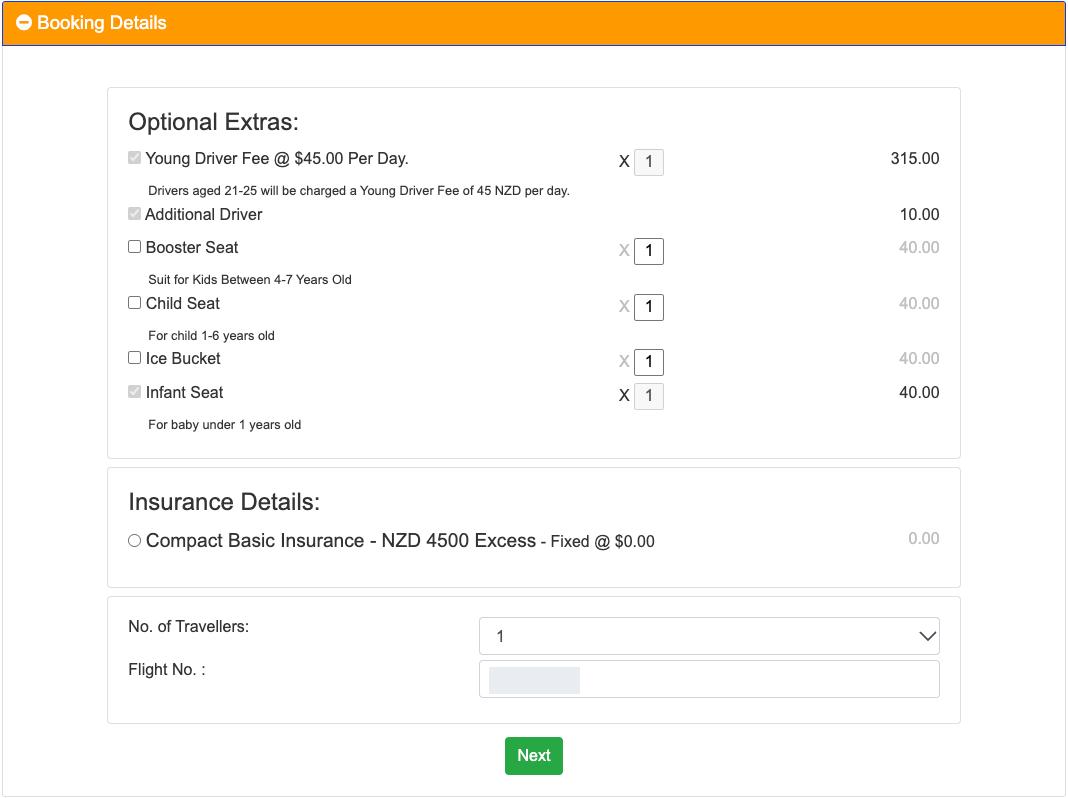
Under Booking Details, review Optional Extras and Insurance Details. Enter the number of travellers and your flight number if requested. Check the charges for any changes before selecting Next.
Upload Your Documents
Upload licences and any requested documents
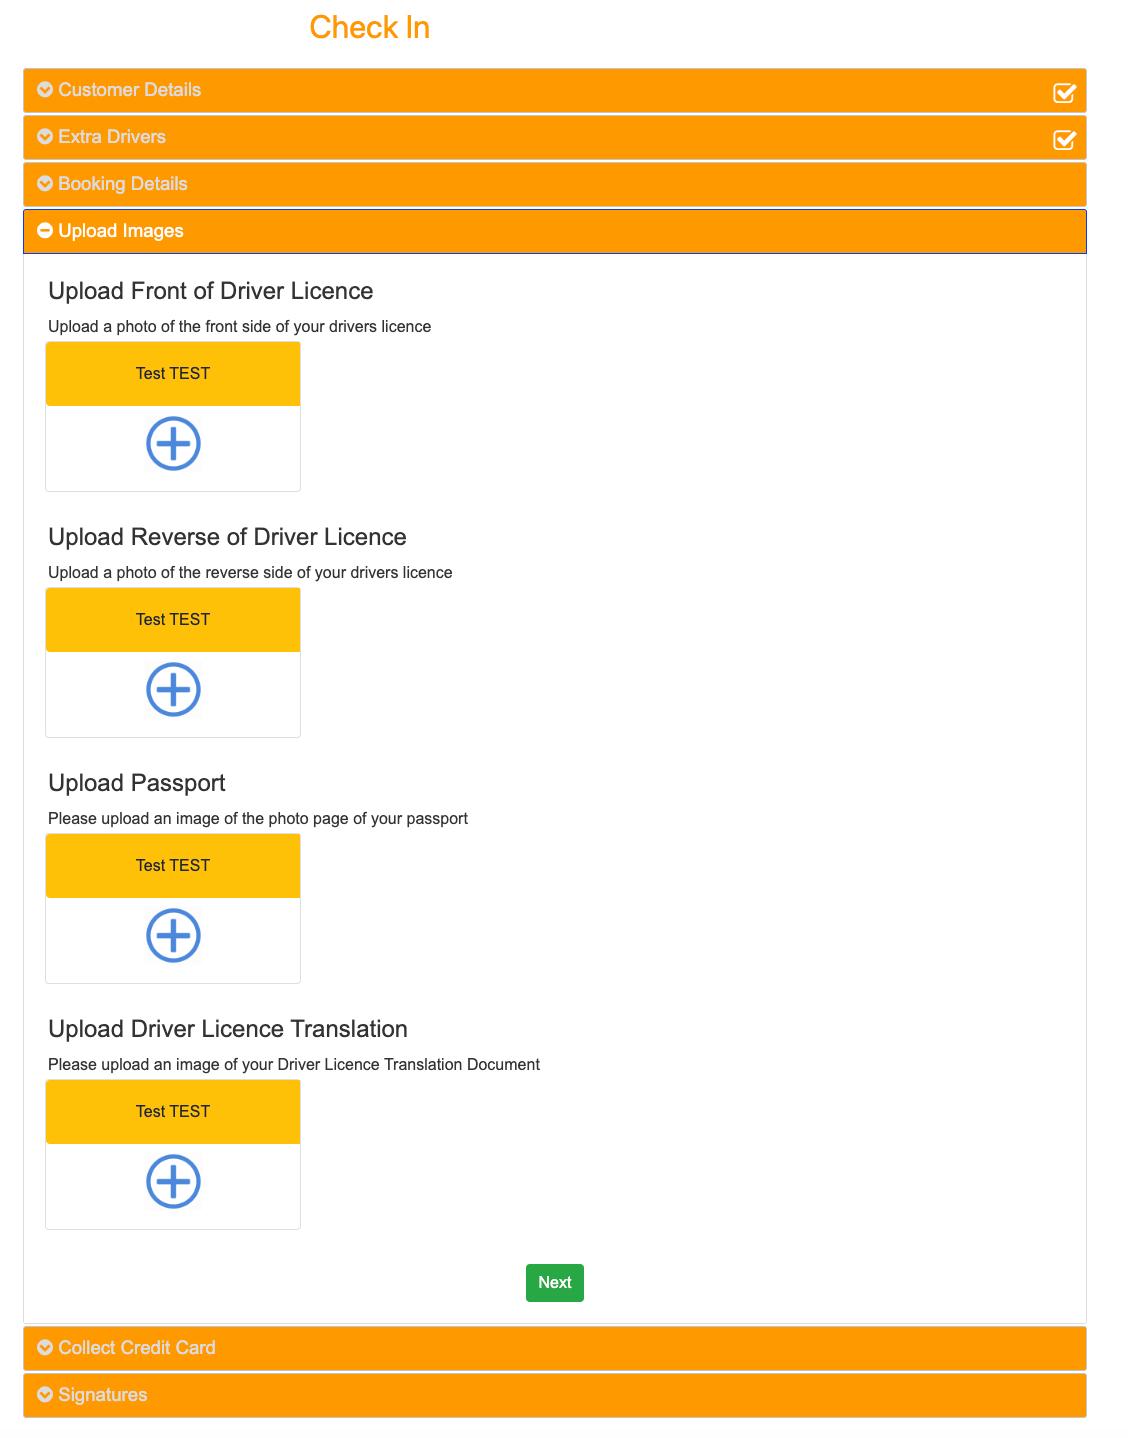
Under Upload Images, select the + button for each item and upload the front and back of your driving licence separately. Follow the prompts to upload licences for any extra drivers. If Upload Passport appears and the page asks for it, upload the photo page of your passport.
Use clear images with readable text and all document edges visible. Select Next after uploading.
Credit Card Details
Add a credit card if prompted
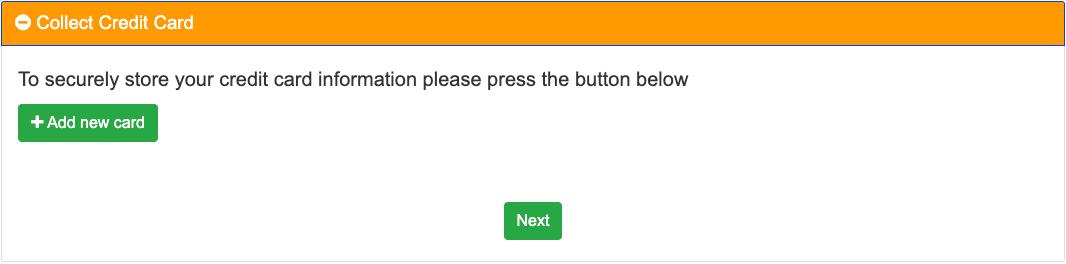
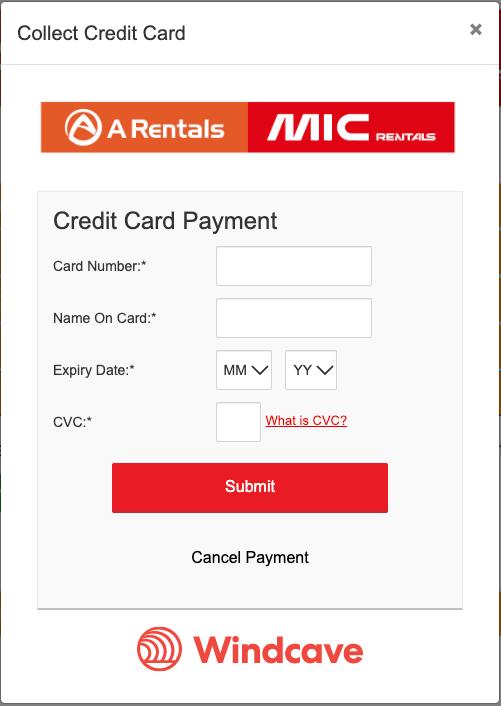
Open Collect Credit Card. If the system asks you to add a card, select Add new card. In the Windcave window, enter the card number, name on card, expiry date and CVC, then select Submit. When you return to check-in, select Next as prompted.
Sign and Submit
Read and sign the documents
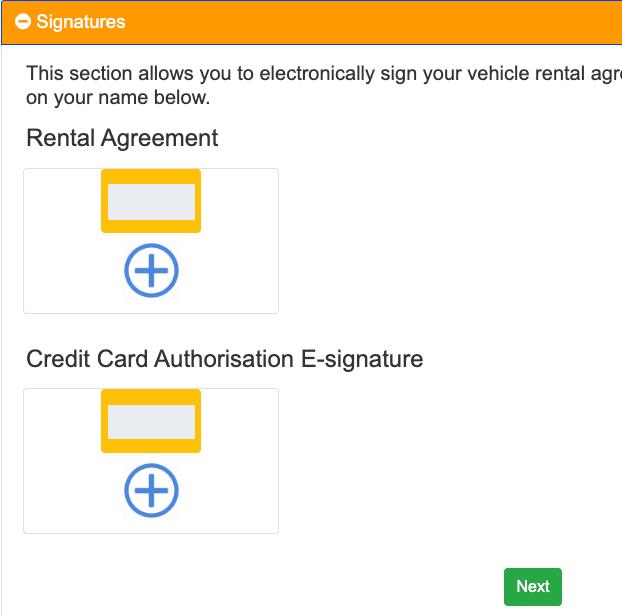
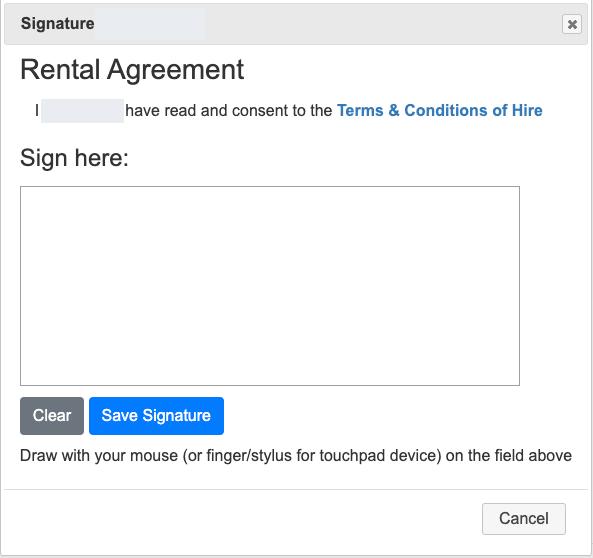
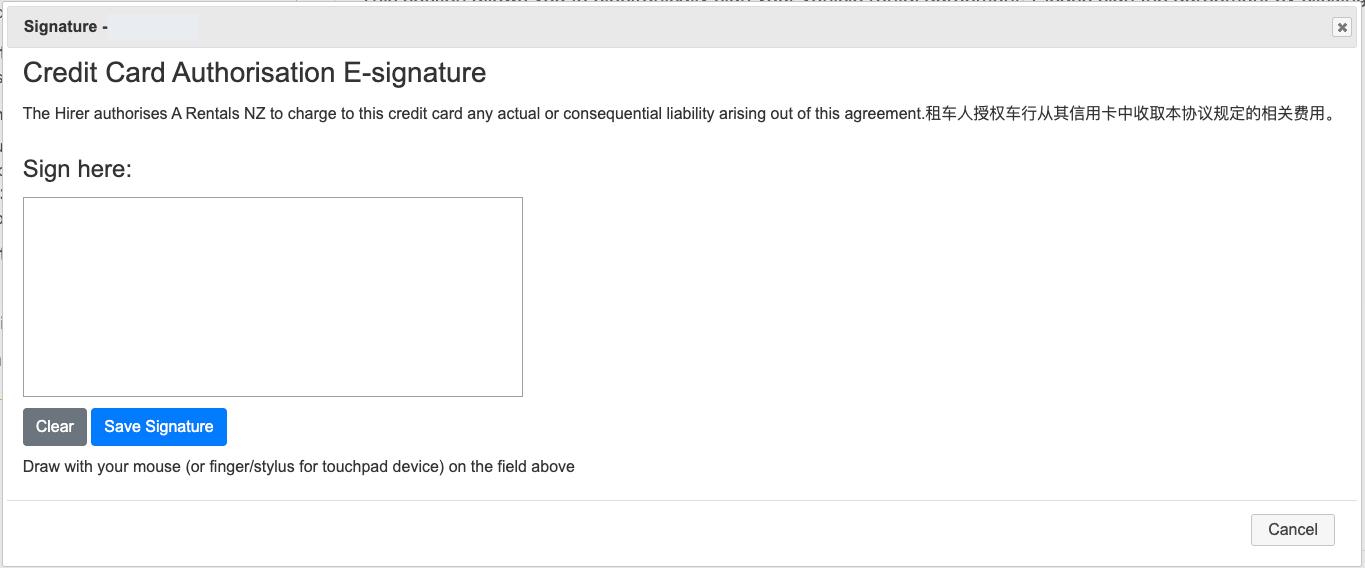
In Signatures, select the + under your name. Read the Terms & Conditions of Hire, sign in the Sign here box using your mouse or finger, then select Save Signature. If credit card authorisation is requested, read it and save that signature separately.
Save and check for confirmation
After saving the signatures, return to the main check-in screen and select Save. Check for the completion message. If any required fields are missing, complete them and save again, or use the same link to return later.

Need help with online check-in?
For help, contact your pick-up branch.